Applying blush is like putting the cherry on top of any makeup routine. Without it, your complexion can look a little dull. But with the right blush shade for your skin tone and a formula that blends seamlessly into your cheeks, blush can take your makeup look to the next level. Of course, there are so many different types and ways to apply blush, so we asked Milk Makeup Director of Artistry Sara Wren to share her makeup artist-approved tips for making blush work for you.
What Are the Different Types of Blush?
Picking the right blush for you isn’t just about finding the different shades that suit your skin tone. Choosing the right blush formula can make a huge difference in your final look. These are the best types of blush that are suitable for all skin types.
Cream Blush
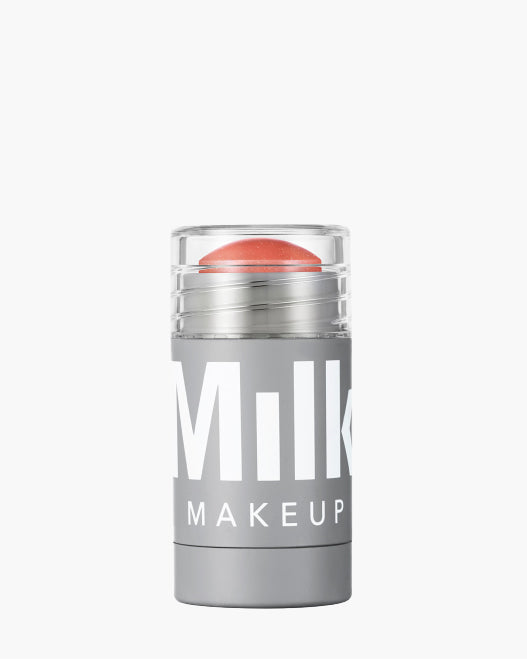
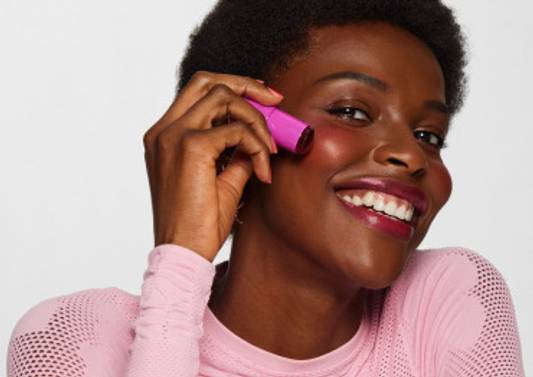
Applying cream blush gives your skin a natural flush because the formula can easily melt into your complexion to give you a healthy finish. “The formula is super buildable and blendable,” says Wren. If you are new to cream blush, she recommends trying Lip + Cheek in the shade Werk. “It’s the perfect place to start for beginners because it’s so natural, but can be built up for a fresh-looking flushed cheek,” she says.
Liquid Blush
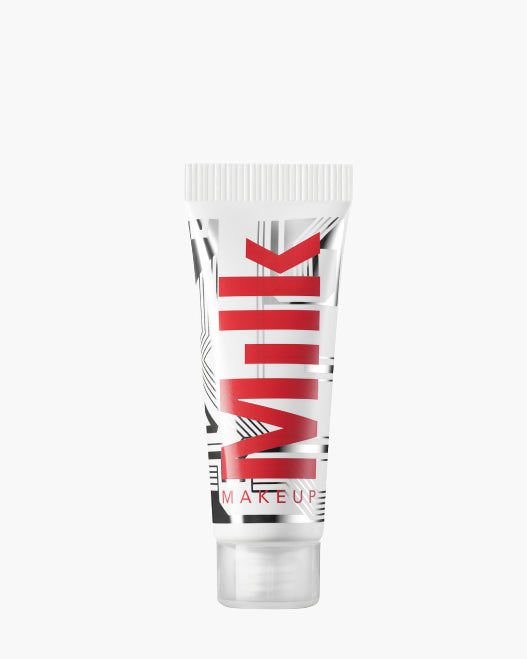
You only need a small amount of liquid blush to give your complexion a pop of color. This kind of formula is great for dry skin because the texture won’t settle into fine lines or dry patches. In fact, the Milk Makeup Bionic Blush Hydrating Liquid Blush has hydration-boosting ingredients like snow mushroom, reishi mushroom, and hyaluronic acid to help your skin look bouncy, dewy, and fresh. “I like to use Bionic Blush for more of a reflective effect on the skin,” says Wren. Try the shade Infinity for a rosy glow or Fly for a sheer, eye-catching red tone.
 |
 |
Blush Stain
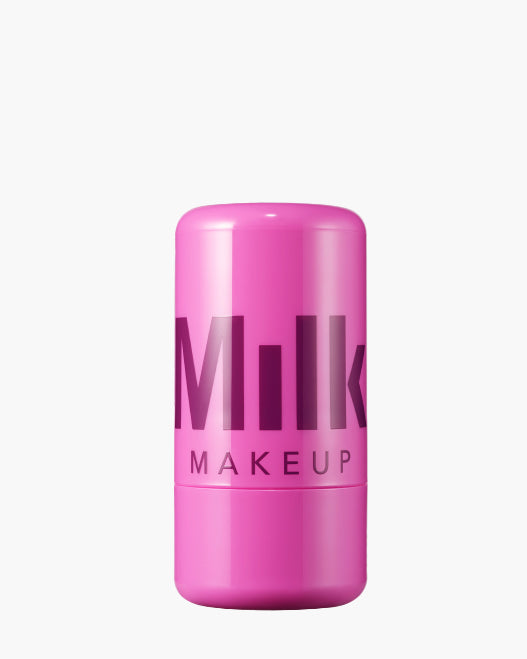
Blush stains aren’t new, but ours has an innovative formula like nothing else you’ve ever seen. Cooling Water Jelly Tint is a sheer blush + lip stain that creates a dreamy watercolor effect that won’t budge. The bouncy texture feels so unique and has a cooling sensation when you put it on. Apply it directly to cheeks and blend it out, or swirl a brush onto the top of your stick, then buff it onto your cheeks, temples, or wherever you want an ethereal flush. The formula is packed with added skin-loving ingredients like vegan collagen, hydrating seawater, and soothing aloe. Want your skin to look even more refreshed? Store your stick in the fridge for an extra cool application.
Powder Blush
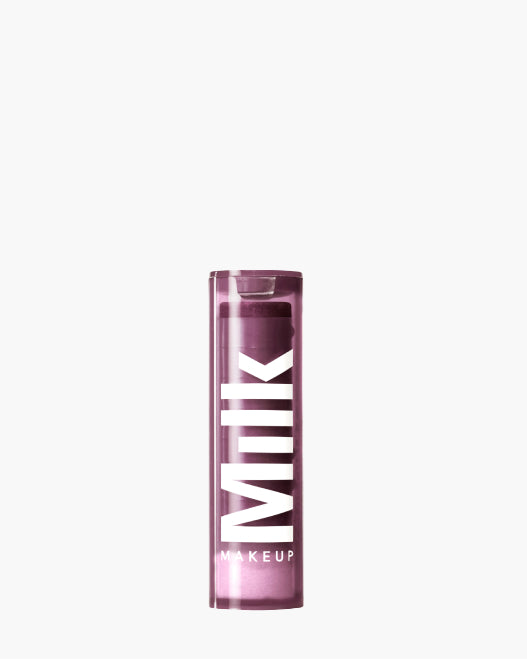
This is probably the kind of blush you’re most familiar with. Powder blushes are great for people with oily skin because they reduce shine for a matte finish and help set your cream base products in place. You can also layer powder blush products over cream formulas to enhance the pigment and keep your makeup on all day long. Pick the powdered blush that complements your skin tone from the lineup of Color Chalk Multi-Use Eyeshadow Stick shades. (They’re not just for your lids, they can actually be used all over.) Try the shade Skip It for a bubble gum pink pop or Bounce for a pretty plum flush.
How Do You Apply Blush?
How to Apply Different Blush Types
There are a few easy methods to apply blush evenly to create a natural, diffused effect. If you are using a cream, liquid, or stain blush formula, you can apply the formula directly to the apples of your cheeks and blend it out using the warmth of your fingers to help it spread evenly without leaving harsh lines. It’s a quick and easy way to wear blush, especially if you don’t have any tools with you. “You can also use a blush brush for a more targeted application across your cheekbones,” explains Wren. A fluffy blush brush works great for powder blushes and a slightly more dense makeup brush helps to sweep cream, liquid, or jelly formulas across your skin for a natural look. You can also use a damp beauty sponge to dab product onto your skin, using a bouncing technique to help it really sink into your complexion.
 |
 |
Where to Apply Your Blush
“Blush placement is so fun to play with and maybe my favorite step of any makeup routine,” says Wren. Where you place your blush can make a huge difference in the final look. Wren likes to apply color higher up on the cheek, up toward the temples, to create a more angular look. She also adds blush right on the apples of cheeks for a youthful glow. Apply powder, cream, or liquid depending on your skin type and the look you’re going for.
For a sunkissed effect, try applying your blush to the tops of the cheekbones and across your nose. “A monochromatic moment is so chic, too,” says Wren. Match your cheeks to your lips by applying the same cream blush to both. Or mix things up by pairing two contrasting colors. “I love unexpected combos, like a berry and coral on the lip and cheeks,” she shares. For a natural-looking stain, sweep a brush over your jelly blush stick, then blend it onto cheeks for a softer, more diffused look. For more intense color, swipe on multiple layers.
When to Apply Blush
Where does blush fit into your makeup routine? Once you’ve applied foundation and concealer, it’s time to add some dimension to your complexion. Wren starts with a matte bronzer to help map the shape of the face. “I do a soft sculpt or ‘baby contour’ by applying it to temples, hollows of cheeks, under the middle lower lip line and through the crease on eyes,” she says. Then, she applies the blush. “Blending is key here to make it all work together,” Wren says. “Lastly, I top cheeks, nose, and Cupid’s bow with highlighter.” Finish with your eye makeup and a lip color for a completed makeup look.
Now that you’re armed with your blush cheat sheet, go play with all the formulas, textures and placements your heart desires—it’s your world.
Meet the Expert
Sara Wren (she/her) is the Director of Artistry at Milk Makeup. In her role, she does all the makeup artistry and direction for our Milk Makeup global campaigns, educates the staff and field team on application methods, stars in the brand’s social media videos, and travels to different markets spreading Milk Makeup’s good vibes. When she’s not on set, Sara loves experimenting with DIY hair colors, eating tacos, watching basketball, and scouring for vintage cosmetics to add to her impressive collection.
.jpg?v=1712938938218&options=w_1440)
 "
"


